


Home / Blog Center / Chargers / How to Unscrew the Core of a Floor Drain: A Step-by-Step Guide
How to Unscrew the Core of a Floor Drain: A Step-by-Step Guide
12/03/2025 | Hawkrown
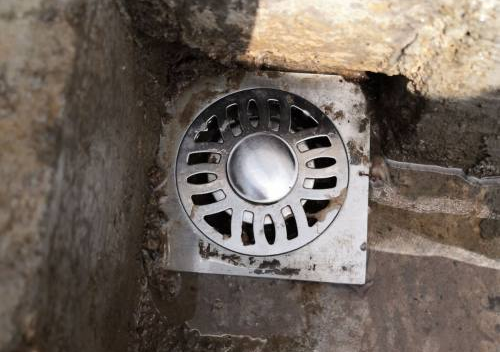
To avoid debris like hair from clogging the drainage system, it is generally necessary to install a floor drain, which usually comes with a removable core. Here’s how to unscrew the core in the middle of the floor drain:
How to Unscrew the Core of a Floor Drain: A Step-by-Step Guide
1. Over time, the core of the floor drain can accumulate hair and other debris, which can affect the drainage speed. To prevent this, it is important to regularly remove the core for thorough cleaning. After cleaning, reinstall it.
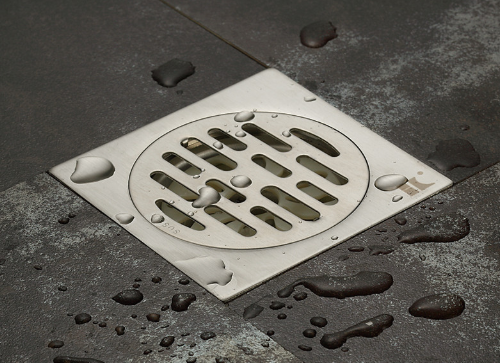
2. To unscrew the core in the middle of the floor drain, first remove the drain cover following the correct sequence. Then, rotate the core in a counterclockwise direction to unscrew it. Once the core is removed, thoroughly clean it, then reinstall it by rotating it clockwise, and finally, reattach the drain cover in sequence.
3. If the core is tightly installed, you may need to remove the entire floor drain before you can unscrew the core. This will allow for complete cleaning of the core. After cleaning, reinstall it.
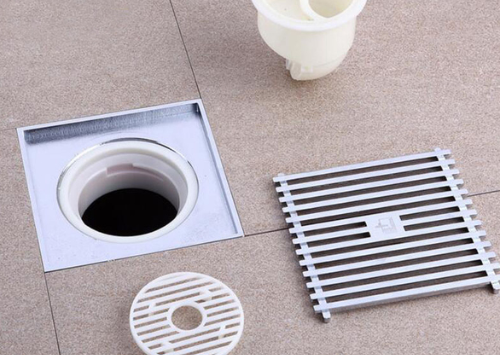
4. If the floor drain has been in use for a long time or if the core is too firmly attached, making it difficult to unscrew, you can apply some lubricant around the core to help loosen it for easier removal. To prevent future issues with disassembly, it may be more suitable to replace it with a new core of the same size and model.

In summary:the above is a detailed introduction on how to unscrew the core in the middle of a floor drain. It is advisable to regularly clean the drain to avoid the accumulation of debris. Regular maintenance will help keep the drainage system functioning effectively.
