


Home / Blog Center / Chargers / Quick and Easy Methods to Remove a Toilet Seat
Quick and Easy Methods to Remove a Toilet Seat
27/02/2025 | Hawkrown
We use toilets every day, so over time they can develop various issues. How do you remove a toilet seat?
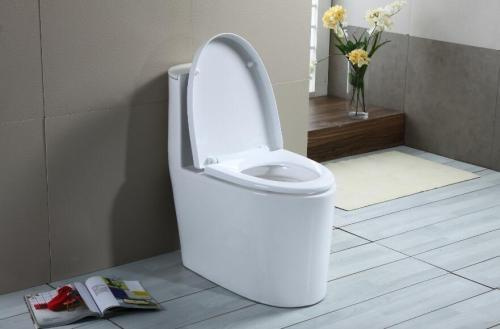
How to Remove a Toilet Seat
Normally, you can find two plastic screws on both sides of the toilet. Start by unscrewing one side. If it's too tight, you may use tools like pliers for assistance. Next, remove the screw on the other side. Then, grasp the toilet seat with both hands and lift it upwards; this way, the seat can be detached. However, when turning the screw caps, make sure to turn them to the right, and be gentle when lifting the toilet seat; otherwise, the screws may get stuck.
What Aspects Should Be Noted During Toilet Installation
To ensure that the toilet installation is solid and functions properly, we need to be cautious and meticulous during the installation process. Here are some points to pay attention to:
1、Before starting the installation, be sure to check if the floor is level. If it isn't, leveling work must be done, such as shortening the toilet drain pipe, so that everything is flat before proceeding.
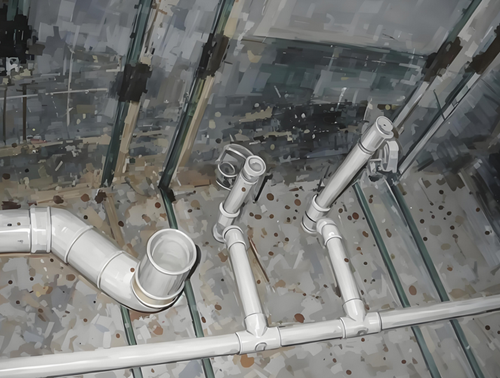
2、Make marks on the toilet pipe to locate the specific spot where the toilet will be set. Then use a power drill to make holes and insert expansion screws. After that, install a sealing ring on the drainage outlet. Be careful with any surrounding cement and glue; if it spills over, it must be cleaned up promptly.
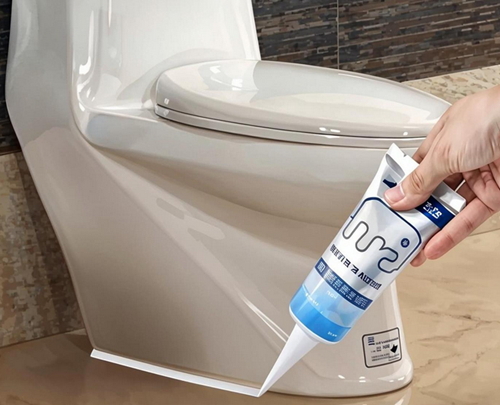
3、Align the toilet with the marked pipe for installation, then apply sealant or silicone on the lower section to ensure the pipes fit properly.
4、Next, configure the toilet accessories. Before installation, make sure the water valve is functioning properly and that the length of the toilet water pipe is appropriate.
5、Finally, test the toilet to ensure it can flush properly.
In summary:the above information pertains to toilet seats. From this article, we can see that to ensure the toilet operates normally and to reduce future maintenance and renovation costs, we must be careful and follow the correct sequence during installation. This can help avoid unnecessary troubles and save both materials and time. I hope this information is helpful to everyone.
