


Home / Blog Center / Chargers / Step-by-Step Instructions for Faucet Removal in Your Bathroom
Step-by-Step Instructions for Faucet Removal in Your Bathroom
25/02/2025 | Hawkrown
The faucet is frequently used in daily life, often being turned on and off dozens or even hundreds of times each day. Over time, it can develop issues since the lifespan of a faucet is limited. When problems arise, the faucet can be disassembled and replaced. So, how do you disassemble a bathroom faucet? Let's take a look together with the experts at Hawkrown.com.
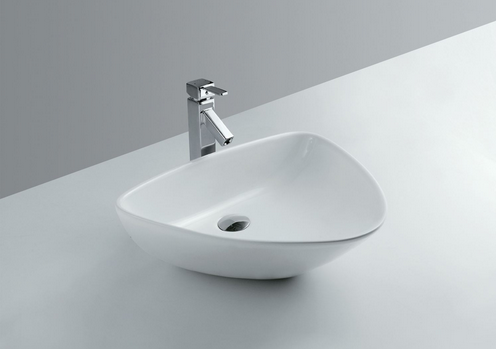
How to Disassemble a Bathroom Faucet
To disassemble a bathroom faucet, first close the valve for the water inlet pipe or the main water supply valve in your home to prevent any water leakage during the process. Next, check the connection type of the faucet. If it is fixed with screws, simply unscrew them to remove the faucet. If the screws are rusted and cannot be removed, you may need to cut them with a saw.
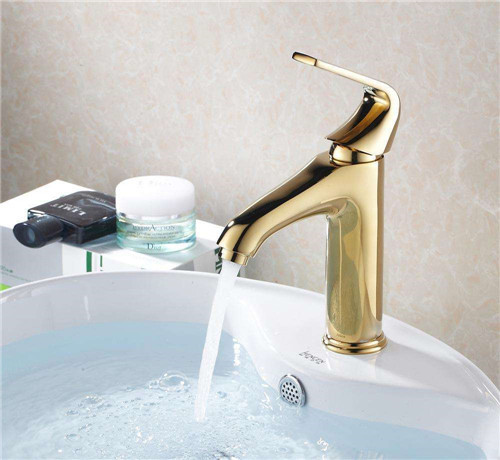
How to Choose a Bathroom Faucet
1. Weight
When selecting a bathroom faucet, you can assess its quality by checking its weight. If it feels too light, its quality may not be good. This could indicate that the manufacturer has reduced costs, leading to an empty interior. As a result, it may not withstand water pressure and could potentially burst.
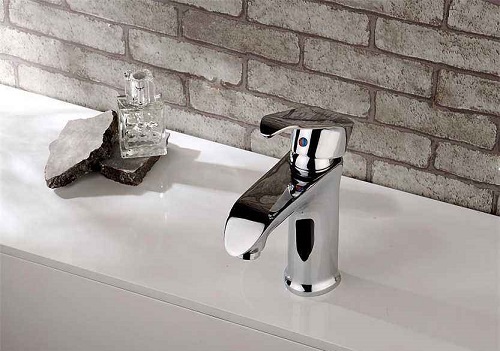
2. Handle
The functionality of the faucet handle significantly affects usability. Composite-type handles are generally easier to operate.
3. Spout
When selecting a bathroom faucet, pay attention to the spout’s position and height. A higher spout may lead to splashing, but it won’t affect usability.
4. Valve Core
The valve core is a critical component of the faucet. If the faucet has hot and cold water, opt for one with a ceramic valve core for added safety.
In summary, the above information provides insights on how to disassemble a bathroom faucet. I hope what I shared can serve as a reference. For more related knowledge, feel free to follow us at Hawkrown.com for inquiries.
