


Home / Blog Center / Chargers / How to Remove and Replace a Floor Drain: A Step-by-Step Guide
How to Remove and Replace a Floor Drain: A Step-by-Step Guide
24/02/2025 | Hawkrown
We often see floor drains in our homes, but after prolonged use, they need to be replaced. So, how do we remove and replace a floor drain?
How to remove and replace a floor drain
When installing a floor drain for the first time, it’s best to record the dimensions and specifications of the floor drain. This way, replacing it later will be more convenient, and selecting a new floor drain will save a lot of time. Additionally, using an item with the same specifications and dimensions will prevent damage to the surrounding tiles and waterproof layer during replacement.
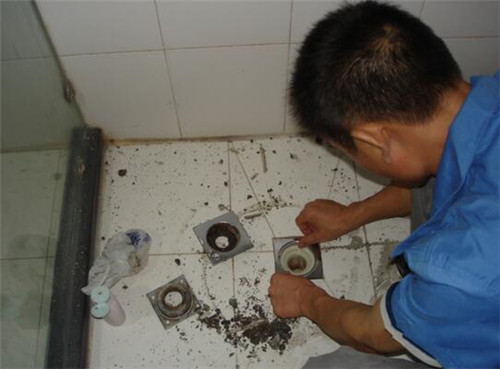
1. Once the new floor drain is ready for installation, begin the process by separating the connection between the old floor drain’s flat panel and the tiles. During the renovation, it’s crucial to cut along the seam and apply appropriate force; excessive force may damage the waterproof layer and potentially crack the surrounding tiles. After the seam is cut open, you can slowly remove the floor drain.
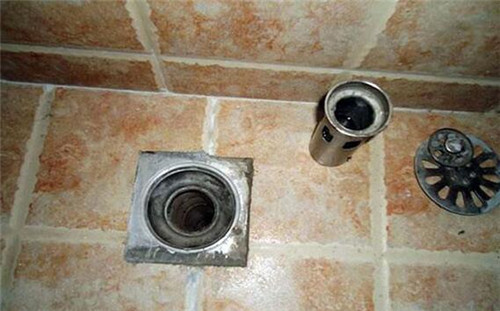
2. After the old drain has been removed, you can install the new one. Start by clearing away any debris from the disassembly site and inside the pipe, ensuring that the surrounding dirt is cleaned up as well. Next, take the anti-odor core from the new drain and place it in the same position as the old one. Make sure that after installation, the height of the new drain is not higher than that of the tiles or floor, as they should be on the same level.
3. Once the new drain is installed, it’s time to secure it. Use cement mortar to fix the floor drain in place, or you can use an adhesive. Ensure that the material is applied evenly around the edges for proper fixed effectiveness. After applying, clean up any excess and let it dry.
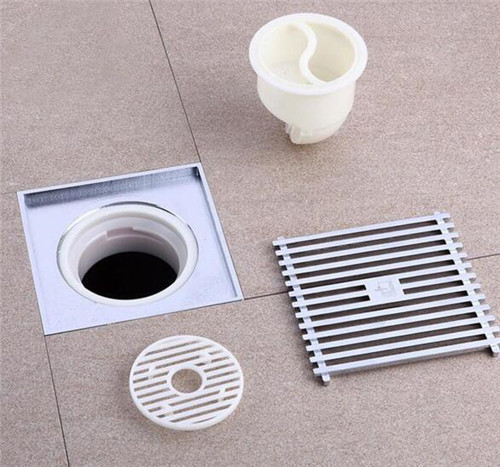
4. Final touches: Once the adhesive is dry, you can install the anti-odor core onto the floor drain and cover it with a cap. Typically, the anti-odor core is installed last to prevent glue from entering the core and affecting its anti-odor performance. Additionally, to maintain the effectiveness of the anti-odor feature, regular cleaning is necessary.
In summary:the above outlines the method for removing and replacing a floor drain. As demonstrated in the article, it’s essential to follow the corresponding guidelines during the actual process, and ensuring that the specifications of the new floor drain match the original will save a lot of time and effort, helping to avoid many problems. I hope this information can assist everyone.
