


Home / Blog Center / Chargers / Ultimate Guide: How to Remove a Stubborn Faucet
Ultimate Guide: How to Remove a Stubborn Faucet
19/02/2025 | Hawkrown
Old-fashioned faucets at home are prone to rusting over time, and if not replaced, they can become difficult to turn. Here are some simple methods to address this issue.
1. Methods for Unscrewing the Faucet
1. First, prepare your tools: a wrench and pliers.
2. Close the main water valve in your home.
3. If the surface of the old faucet has a layer of rust, try turning it gently back and forth on both sides. You can use the wrench to rotate it; regardless of the direction you turn, just loosen the rusty area a bit to make it easier to unscrew afterward.

4. In some cases, without using excessive force, you can drop a couple of drops of kerosene on the threaded area. Wait for about 5 minutes for the kerosene to soak into the threads, then try to unscrew it again. The lubrication will make it much easier.
5. Alternatively, you can also use machine oil or vinegar in the same way. Apply a few drops to the threads and wait for it to seep in before trying to turn it.
6. You can pour boiling hot water over the threaded area of the faucet, which may be slightly less effective than dropping oil. Adding gasoline on top of that and gently tapping it with pliers at intervals can also help.
7. If none of the above methods work, you may need to saw off the faucet along with the threaded part and install a new thread and faucet.
8. Purchase a bolt loosening spray; applying it can make it easy to unscrew within two minutes.
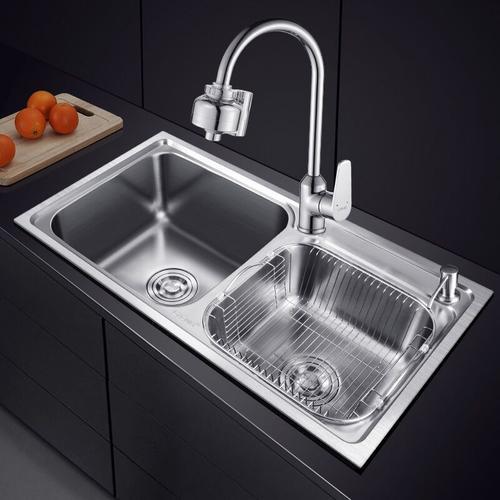
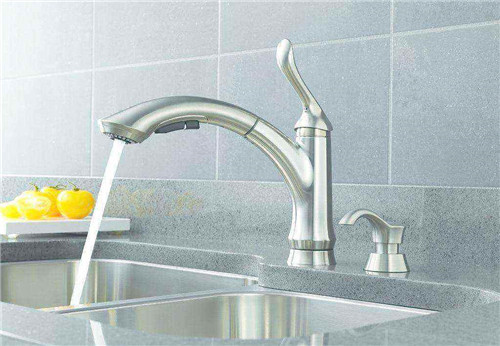
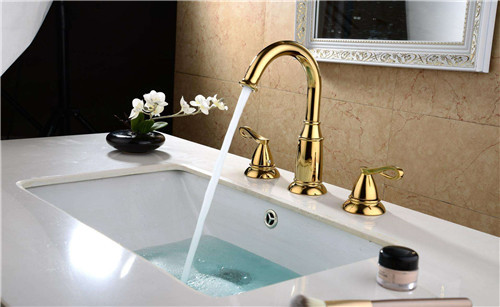
How to Install a New Faucet
1. Buy a faucet of the same size, and before installation, wrap the joint area with thread sealing tape. Make sure to wrap it evenly; otherwise, it may leak after installation. It shouldn't be too thick or too thin.
2. Position the wrapped faucet over the joint. Be careful to align it correctly with the threaded joint; otherwise, it may get misaligned. Start turning it clockwise. If you find the faucet is not straight, it might mean the sealing tape is not thick enough, so add a bit more waterproof tape and make sure to tighten it firmly. If you are working with older pipes, be gentle to avoid breaking them.
3. After everything is set, turn on the water valve. If the water flows normally and there are no leaks, then the installation is successful.
These are the basic steps and precautions for changing a faucet. Of course, the installation methods might vary slightly for different types of faucets. These are essential life skills to have. Learn these few tricks, and you won’t have to trouble others anymore!
