


Home / Blog Center / Chargers / A Complete Guide to Detaching Your Kitchen Faucet’s Rotating Rod
A Complete Guide to Detaching Your Kitchen Faucet’s Rotating Rod
14/02/2025 | Hawkrown
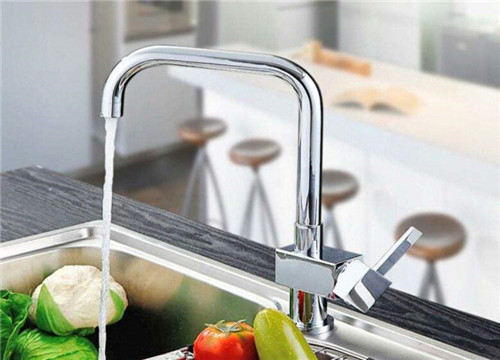
The faucet is an indispensable tool in kitchens and bathrooms. However, after a period of use, it may become damaged, such as when the handle can't rotate. If it can't be repaired, a new handle needs to be replaced. Let's take a look at how to disassemble the kitchen faucet handle and what to do if the kitchen faucet is leaking.
How to Disassemble the Kitchen Faucet Handle
First, disconnect the kitchen faucet's hoses and water supply lines using a wrench, then remove the fixed components of the faucet. Next, grasp the faucet and rotate it left and right to loosen it. Once the faucet is loose, you can easily remove the handle.
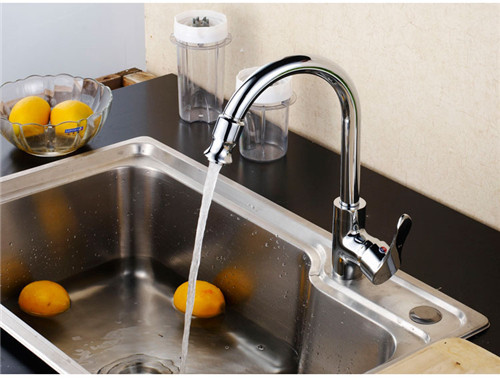
What to Do If the Kitchen Faucet Is Leaking
1. When you notice a leak at the kitchen faucet outlet, first check the outlet itself. If the leak is coming from the outlet, it could be due to a damaged seat washer. In this case, use pliers to remove the retaining nut, take out the seat washer with a clip, and replace it with a new one.
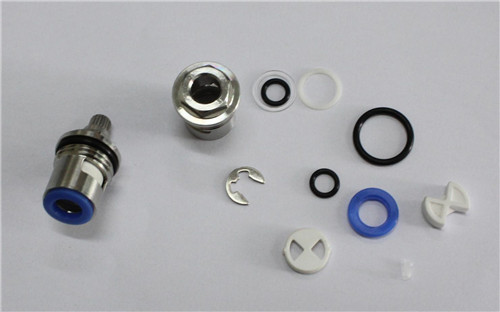
2. If there is a leak at the bottom seam of the kitchen faucet, it is usually due to a damaged triangular sealing washer inside the faucet cap. In this case, loosen the screws, remove the retaining nut, take out the triangular sealing washer, and then install a new sealing washer.
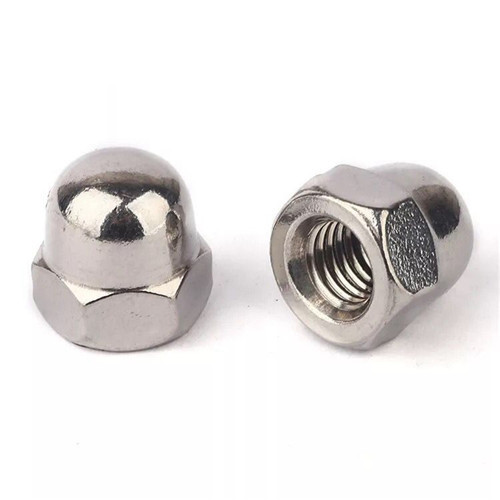
3. If the leak occurs at the connection of the faucet supply line, it is often due to a loose cap nut. In this situation, simply tighten the cap nut. However, if the sealing ring is damaged and causing the leak at the connection, you will need to replace the sealing ring.
In conclusion, this is the information on how to disassemble the kitchen faucet handle. I hope it helps those who need it. To avoid further damage to the faucet, it is advisable to seek professional help for repairs, and to pay attention to proper maintenance of the faucet during use.
