


Home / Blog Center / Chargers / DIY Guide: Installing a Spring in Your Splash-Proof Faucet
DIY Guide: Installing a Spring in Your Splash-Proof Faucet
14/02/2025 | Hawkrown
In our daily lives, people often install multiple faucets during home decoration, and various styles of faucets are available. Faucets play a vital role in our lives. Today, I’d like to discuss how to install the spring inside a splash-proof faucet, hoping to provide some assistance. Interested friends can join me in understanding this topic.
I. How to Install the Spring Inside a Faucet
First, align the faucet with the water pipe. Then, press the spring of the splash-proof faucet into place. This method is very simple. If you cannot press it in place by hand, you can use a Phillips screwdriver or a small adjustable wrench to assist. Finally, secure the water pipe connector.
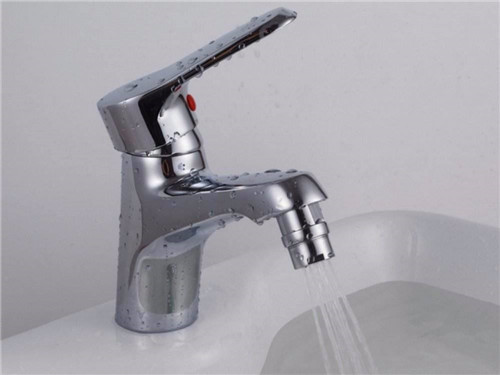
II. Installation Method of the Splash-proof Faucet
1. When installing the splash-proof faucet, first turn off the water valve. Then, use an adjustable wrench and pliers to unscrew the faucet counterclockwise. Next, clean out any sediment or debris inside the faucet.
2. Subsequently, screw the splash-proof faucet’s threads onto the faucet pipe in a clockwise direction, and the installation is complete.
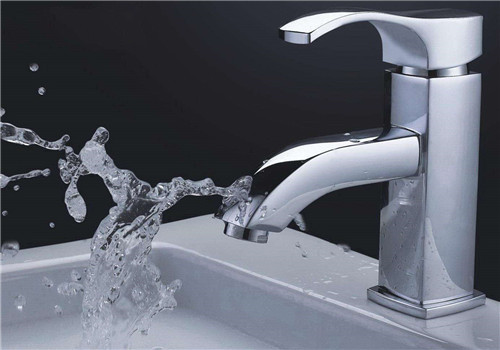
III. Benefits of the Splash-proof Faucet
1. The splash-proof faucet prevents water from splashing onto the surrounding area or the floor while using the faucet, thereby reducing indoor humidity.
2. The splash-proof faucet helps save water; when turned on, it can fulfill cleaning needs without needing to be fully opened, unlike non-splash-proof faucets, where a higher flow is necessary to achieve the same cleaning results.
The above content summarizes how to install the spring inside a splash-proof faucet and provides related information. I hope this helps everyone. If you have any other questions, please leave a message below, and I’ll address your concerns promptly. Lastly, for any questions related to home decor or household issues, feel free to follow our platform.
