


Home / Blog Center / Chargers / Step-by-Step Instructions for Changing a Damaged Floor Drain
Step-by-Step Instructions for Changing a Damaged Floor Drain
13/02/2025 | Hawkrown
The floor drain serves a drainage function, and if it fails to drain properly during use, it needs to be replaced. Here, I'll introduce how to replace a broken floor drain.
How to Replace a Broken Floor Drain
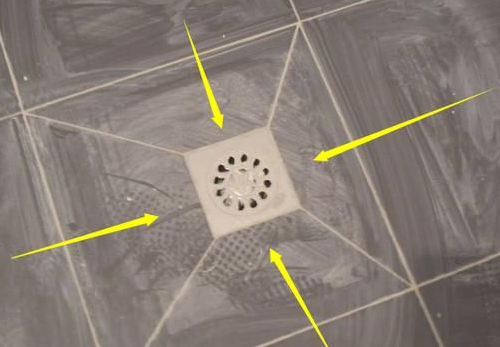
1. First, use tools to remove the floor drain from the joint area. If it’s too hard, you may need to use a hammer.
2. Next, take out the floor drain, and block the opening with a plastic bag to prevent debris from entering. Then, clean up the surrounding cement.
3. Finally, apply a new layer of cement putty around the drain hole, install the new floor drain, clean up any excess cement putty, and cover it with a plate.
Types of Floor Drains:
1. Shallow Seal Floor Drain
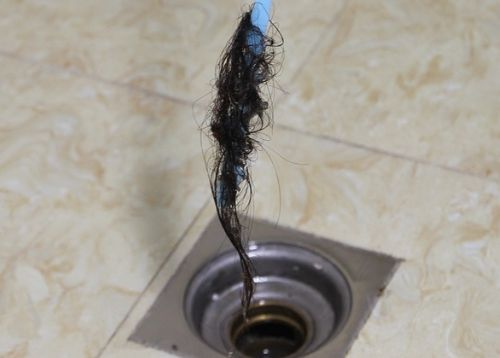
This type of drain does not itself prevent odors, but it can achieve this effect because of the water present. Essentially, it isolates the upper layer from the lower layer. It is important to regularly clean it, as debris can accumulate at the bottom over time, causing it to become ineffective.

2. Spring-loaded Floor Drain
This type of floor drain has a spring in the middle and needs to be manually controlled to open or close. It is relatively difficult to clean and is gradually being phased out because the spring can easily become worn out over time.
3. Deep Seal Floor Drain
The deep seal floor drain is similar to the shallow seal type, but the water seal layer is elevated to 7-8 cm, enhancing its odor prevention capabilities. This type of drain has a moderate drainage speed and can also prevent backflow, but it is relatively difficult to clean. When purchasing, it is important to ensure that the height of the drainage pipe matches.
4. T-shaped Floor Drain
This type of floor drain not only has good insect prevention features but also a strong filtering capability. It allows for fast drainage but can be cumbersome to clean. Over time, the spring may wear out, requiring the inner component to be replaced.
In summary:this concludes the information on how to replace a broken floor drain. By following the steps outlined above, you can successfully perform the replacement. During the replacement process, make sure to understand the order of steps to avoid any issues during later use.
