


Home / Blog Center / Chargers / Step-by-Step Instructions for Removing Your Kitchen Faucet
Step-by-Step Instructions for Removing Your Kitchen Faucet
14/02/2025 | Hawkrown
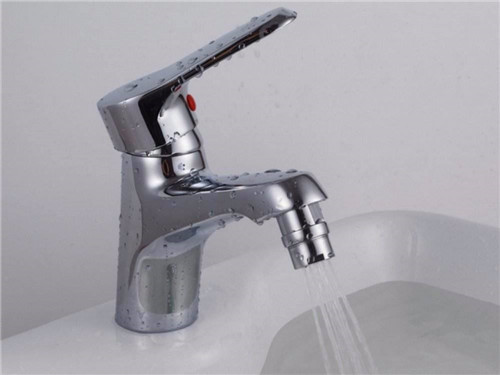
The faucet is something we use daily in our lives. Although it may seem insignificant, it is quite convenient when we need to wash things. Like many household items, faucets can develop issues over time. If your kitchen faucet is broken, you may not know how to disassemble it. Today, I'll guide you through the process of dismantling a kitchen faucet.
1. Turn off the water valve in the kitchen.
Before disassembling the faucet, it is essential to turn off the water valve in the kitchen to avoid unnecessary mess. This will prevent water from spraying out unexpectedly.
2. Drain any residual water.
After shutting off the water valve, wait for a while to ensure all residual water inside the faucet drains completely. To expedite the draining process, you can use paper towels or a cloth to soak up any leftover water.
3. Pry off the protective cap.
Once the water has drained, you can proceed to the next step. Use a small knife to pry off the protective cap on the faucet. This task is generally straightforward, as these caps are usually just fitted on or glued to the faucet. Be careful when using the knife to ensure safety.
4. Unscrew the screws.
After removing the protective cap, use the appropriate screwdriver to loosen the screws located on the handle of the faucet.
5. Remove the faucet.
Once the screws are removed, you can take off the faucet. The handle is typically held in place by a notched fitting, so a little force may be required to detach it.
6. Complete the disassembly.
After removing the faucet, you can loosen the axle underneath it. This completes the disassembly process. Remember to organize and store the removed parts properly after finishing.
The above is a complete guide on how to disassemble a kitchen faucet. I hope this information is helpful to everyone. If you are interested, you can follow Hawkrown.com for more content.
