


Home / Blog Center / Chargers / Efficient Bathroom Heater Installation: What You Need to Know
Efficient Bathroom Heater Installation: What You Need to Know
11/02/2025 | Hawkrown
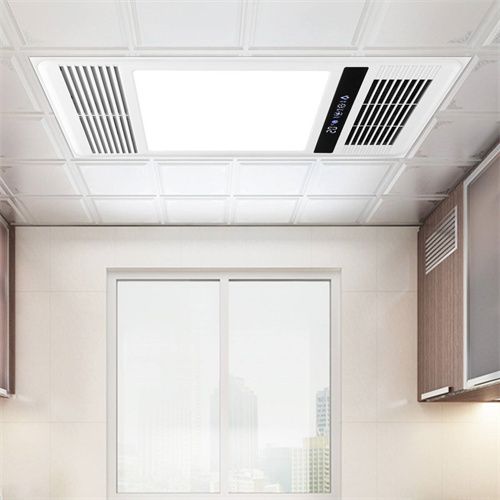
Currently, the bathroom heater has become an indispensable appliance in every household. The bathroom heater not only provides lighting but also serves the purpose of heating. Additionally, it can help with dehumidification and ventilation, making it convenient for many families. So how is it installed? Let's take a look together.
Mastering the Installation of Your Bathroom Heater
1. Determine the Ventilation Hole
The ventilation hole is an important component of the bathroom heater. Without a ventilation hole, the air inside cannot circulate outdoors. Therefore, when installing, the first step is to determine the position of the ventilation hole on the wall. It is best for this position to be above the ceiling but slightly lower than the outlet, as this effectively prevents the backflow of water in the ventilation pipe.
2. Installation of the Vent Fan
Connect one end of the ventilation pipe to the ventilation window, and then extend the other end from the wall to the outside vent. Use cement to fill any gaps between the ventilation hole and the ventilation pipe to prevent rainwater from entering the ducts. Additionally, the center of the bathroom heater should be within 1.3 meters of the ventilation hole, since the length of the ventilation pipe is generally around 1.5 meters.
3. Determine the Position of the Bathroom Heater
After completing the above installations, the next step is to determine the position of the bathroom heater. The height of the bathroom heater from the ground should ideally be between 2.1 meters and 2.3 meters. In addition, when installing, ensure that the light from the heater is concentrated on the back of the person bathing. This helps prevent them from catching a chill while taking a shower.
4. Wiring
Once the position of the bathroom heater is determined, the next step is wiring. First, remove the light bulbs from the heater, then take off the cover and springs. Follow the markings in the wiring diagram to connect the wires properly. After connecting the wires, cover the terminal block, and tuck any excess wires into the ceiling to enhance the appearance.
5. Connect the Ventilation Pipe
After the wiring is done, place the ventilation pipe over the exhaust port of the fan unit, then insert the entire body of the heater tightly into the pre-reserved position, securing the heater in place.

6. Install the Cover and Light Bulbs
Insert the cover of the bathroom heater into the positioning slot, then attach the springs. Finally, screw in all the light bulbs, and the installation is complete.

Editor’s Summary:The above is a related description of how to install a bathroom heater. I hope it can help many friends.
