


Home / Blog Center / Chargers / Recommended Size for Bathroom Exhaust Fan Vents
Recommended Size for Bathroom Exhaust Fan Vents
11/02/2025 | Hawkrown
Every family will install a bathroom heater, mainly to prepare for the cold winter, allowing for a comfortable shower and preventing children from catching a cold. Below, I will share the size of the exhaust vent for the bathroom heater and the installation steps.
Size of Bathroom Heater Exhaust Vent
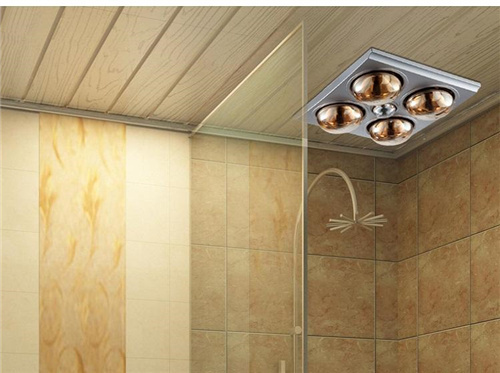
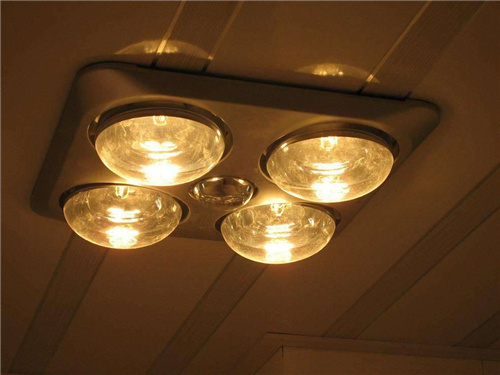
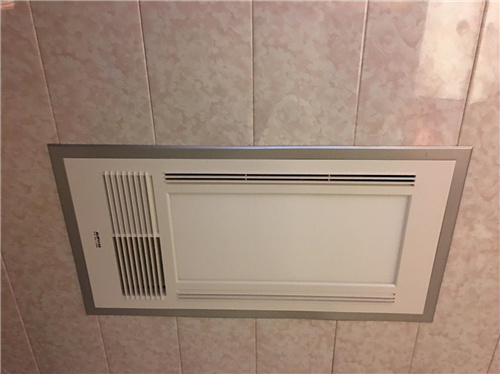
The exhaust vent size for a bathroom heater is generally around 8 cm, and larger models may have a vent size of 10 cm. For a four-lamp model, the external dimensions are approximately 380mm x 380mm; for a two-lamp model that is wall-mounted, the dimensions are approximately 450mm x 210mm x 180mm. The standard installation size is 300mm x 300mm, with only about 2% of models being exceptions to this size. It is safe to cut a hole of 300mm x 300mm for proper installation.

Installation Steps for the Bathroom Heater
Preparation Work:
1. Open a Ventilation Hole
Determine the location for the ventilation hole, ideally positioned above the ceiling, slightly lower than the exhaust vent of the centrifugal ventilation fan.
2. Install the Ventilation Window
Attach the ventilation duct to the ventilation window, and then extend the other end through the wall to the exterior vent location. Use cement to secure the ventilation duct up to 1.5m. When installing the ventilation duct, consider the distance from the product installation location to the ventilation hole, which should not exceed 1.3m.
3. Determine the Installation Location for the Bathroom Heater
The bathroom heater should be installed directly above the bathtub or shower area in the ceiling. After installation, the height of the bulbs from the floor should be approximately 2.1m to 2.3m.
Fixing the Bathroom Heater:
1. Remove the Heater Cover
Unscrew the bulbs, detach the springs from the cover's ring, and remove the cover itself.
2. Wiring
Connect one end of the flexible wire to the switch panel and the other end to the power supply wire. Pull it out from the ceiling opening and remove the cover of the connection terminal on the heater's housing. Secure the cover with screws.
3. Connect the Ventilation Duct
Pull the indoor end of the ventilation duct out and attach it to the exhaust vent of the centrifugal ventilation fan.
4. Insert the Housing into the Hole
Check the position of the exhaust vent and orient the heater housing correctly before inserting it into the hole.
5. Fix the Bathroom Heater
Use four wood screws, each with a diameter of 4mm and a length of 20mm, to secure the housing to the ceiling.
In summary:the above is the information shared about the size of the bathroom heater exhaust vent and the installation steps. I hope this helps you. If you are considering installing a bathroom heater, you can familiarize yourself with this knowledge to ensure a smooth installation process.
