


Home / Blog Center / Chargers / How to Fix a Leaking Pipe Behind Your Toilet: Step-by-Step Guide
How to Fix a Leaking Pipe Behind Your Toilet: Step-by-Step Guide
10/02/2025 | Hawkrown
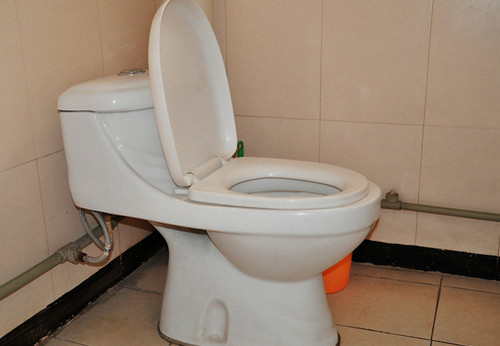
In daily life, it’s common to encounter problems with toilets if they have been used for a long time. For instance, leaking pipes behind the toilet are a frequent issue. How should we handle this situation? Today, I’ll guide you through it.
What to do if the pipe behind the toilet is leaking:
Firstly, check the water pipe and connection points behind the toilet to determine the cause of the leak.
1、If the leak is caused by an aging or damaged water supply hose behind the toilet, this may be due to the quality of the toilet itself or prolonged use, which can lead to the degradation of components. If the hose has cracks, it will inevitably leak. In this case, it’s best to replace the water supply hose with a new one. When replacing, remember to turn off the main water valve at home or the valve on the hose’s connecting triangle. Additionally, drain the water from the toilet tank. Use a small wrench or pliers to turn the old hose counterclockwise to remove it. Unscrew the cap from the bottom of the tank, wipe the connection point dry with a cloth, and then install the new hose.
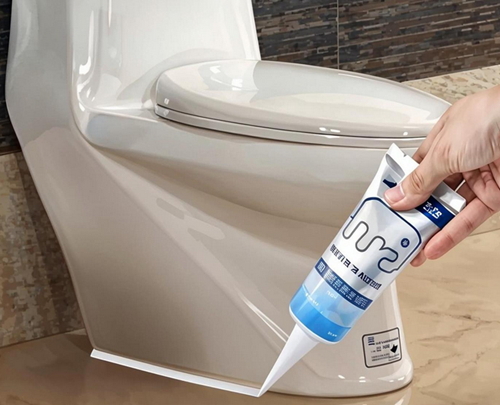
2、If leaking is due to loose screws at the water supply hose connection or cracked sealant preventing a complete seal, the water pressure from the tank can cause water to overflow from these gaps. You can use a wrench to tighten the screws at the connection point clockwise and observe if it still leaks. If the sealant is cracked, clean off any remaining sealant first. Similarly, close the water supply valve and drain the water from the toilet. Wipe the surface where you will apply the new sealant dry and reapply a ring of sealant.
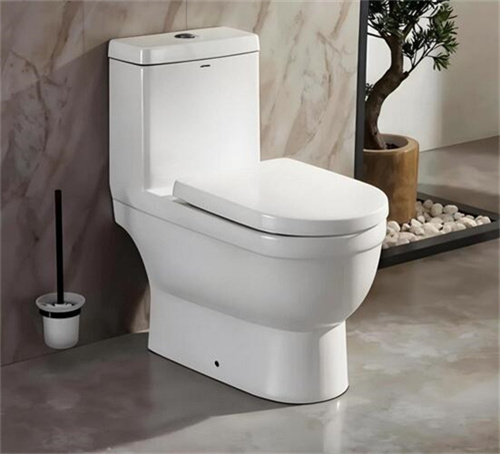
Installation considerations for toilets:
1、Before installation, thoroughly check the drainage pipes and clear out any debris such as mud or paper to ensure that the installation area is level both front to back and side to side. If it is not level, adjust the floor before installation, ensuring that the drainage outlet is 2-5mm above the floor.
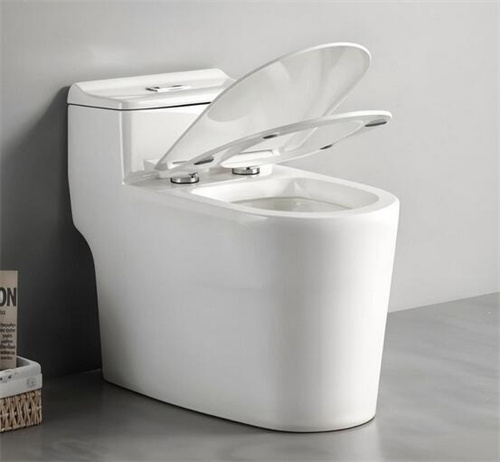
2、After completing the toilet installation, it’s best not to use it immediately. Allow the silicone sealant and cement mortar to fully dry and set, which typically takes 2-3 days.
3、After installation, check for leaks. Pay attention to whether there is any water seepage at three critical sealing points: the connection between the angle valve and the hose, the connection between the hose and the toilet’s water inlet at the bottom, and the seal ring at the toilet’s drain valve.
4、Finally, perform a flushing test to evaluate the flushing and drainage effectiveness. If the tank components are intact, and the tank fills with water, pressing the button should produce a strong flow and a swift, clean drainage. If not, it may be necessary to check whether there are issues with the installed components or if the drainage pathway is blocked.
summary:This is what I have shared about how to handle leaking pipes behind toilets and the precautions for toilet installation. I hope this information is helpful to you. For more related content, please follow Hawkrown.
