


Home / Blog Center / Chargers / How to Replace the Lighting Bulb in a Flat Bathroom Heater
How to Replace the Lighting Bulb in a Flat Bathroom Heater
06/02/2025 | Hawkrown
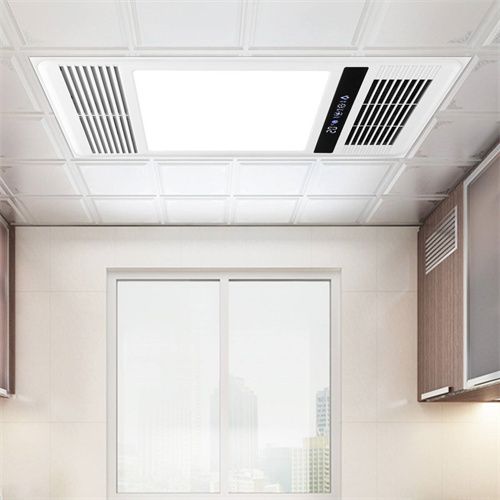
Many households install ceiling heaters in their bathrooms, which provide both lighting and heating. However, due to the humid environment and large amounts of water used in bathrooms, ceiling heaters can become damaged over time. If a malfunction occurs, it is important to replace it promptly. So, how do you replace the lamps in a panel ceiling heater? What should you pay attention to during the installation of a ceiling heater? Today, let’s address these questions and learn more about the relevant content!
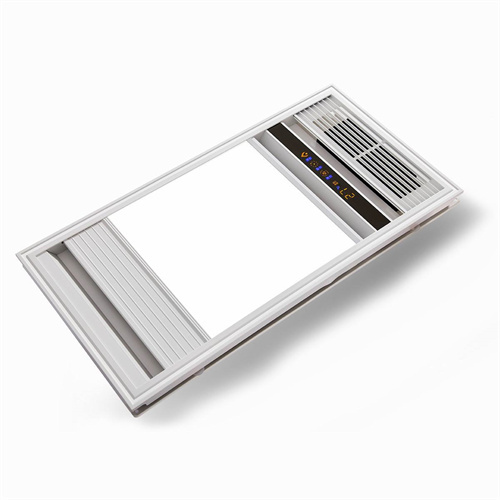
How to Replace the Lamps in a Panel Ceiling Heater
First, unplug the power supply. If you do not do this, it may lead to electric shock or other accidents. Next, use tools to pry at the corners of the integrated panel to remove it; take off both panels. With your left hand holding the outer casing of the ceiling heater, use your right hand to reach inside the integrated panel and locate the suspension spring next to the ceiling heater. Gently press down on it to remove the lamp. Finally, use the same method to install the new lamp.
What to Pay Attention to When Installing a Ceiling Heater
1. Install the Ceiling Heater in the Center of the Bathroom
When installing, it should be placed in the center of the bathroom. This allows for even distribution of light and heat, making usage more comfortable. Since ceiling heaters heat up quickly, they should not be installed too low to avoid the risk of skin burns.
2. The Ceiling Heater Should Not Be Installed Too Low
It should be installed on the ceiling or in a suspended ceiling, and not directly on the wall. This prevents uneven heat distribution. Typically, there should be a distance of about 40 centimeters between the heater and the head to ensure better heating and lighting effects while avoiding burns.

3. Do Not Expose the Ceiling Heater to Water
Although the exterior of the lamp is water-resistant, it is essential not to wash or spray water directly onto it during usage or cleaning. This could allow moisture to enter the lamp and damage its internal components, potentially resulting in bulb failure, short circuits, or electric shock.

Editor’s Summary:After reading the information above, I believe everyone now has a better understanding of how to replace the lamps in a panel ceiling heater. For more related information, please continue to follow our website, where we will present more exciting content in the future.
