


Home / Blog Center / Chargers / How to Install a Faucet Aerator
How to Install a Faucet Aerator
23/01/2025 | Hawkrown
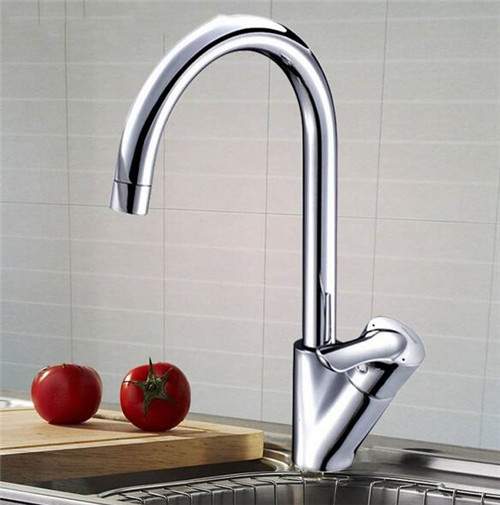
A faucet aerator can effectively prevent splashing caused by a high water flow from the faucet. So, how do you install a faucet aerator? Let's learn together.
How to Install a Faucet Aerator
1. Most faucets on the market usually come with an aerator. If you need to install a new faucet aerator, you should first remove the existing one that comes with the faucet. To do this, use a screwdriver to pry up the aerator from the edge seam. Once the edge is lifted, you can remove the aerator and then proceed to install the new one.
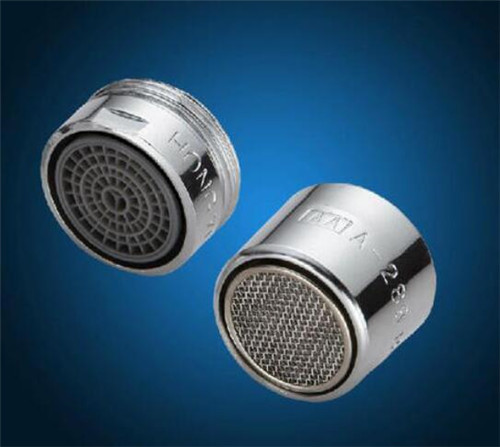
2. Before installing the new faucet aerator, you should check if the size of the new aerator matches that of the old one. If the sizes are the same, simply press the new aerator into place. If the sizes differ, it will not be possible to install it successfully.
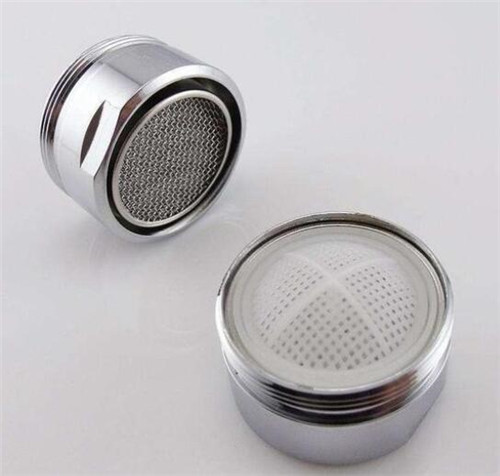
3. Faucet aerators are generally used to filter impurities from the water. They typically contain multiple layers of filter mesh that effectively remove impurities, ensuring that users can access clean and healthy water. However, if the aerator becomes clogged with impurities, it is essential to remove it for cleaning in a timely manner; otherwise, it could affect the normal functioning of the faucet.
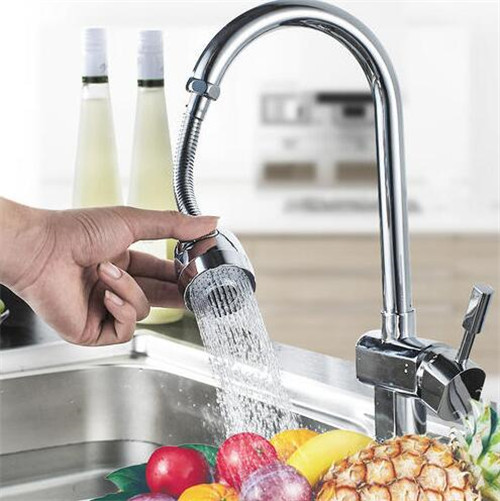
4. Faucet aerators also help to prevent splashing and reduce water flow noise. They allow water to flow out of the faucet evenly, avoiding chaotic splashes. By using a faucet aerator, users can also save water and reduce their daily living expenses. Generally, faucets equipped with aerators can save about 50% of water.
This is a detailed introduction on how to install a faucet aerator. Friends who wish to install a faucet aerator can refer to this information. If you want to learn more related knowledge, continue to follow our Hawkrown.com, and I will bring you more exciting content in the future.
