


Home / Blog Center / Chargers / The Ultimate Guide to Installing a Pull-Down Faucet
The Ultimate Guide to Installing a Pull-Down Faucet
23/01/2025 | Hawkrown
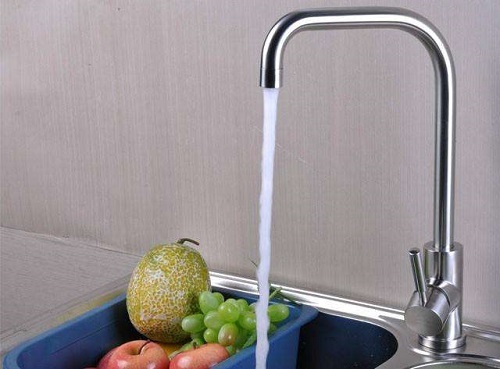
The faucet is a frequently used item in the home, so it is important to install it properly before use to achieve the desired effect. Below, we will introduce the installation steps for a retractable faucet.
Installation Steps for a Retractable Faucet
First, turn off the water valve. Next, connect the hot and cold water pipes to the faucet. Then, connect the outlet pipe to the retractable pipe. After that, secure the base of the faucet to the sink. Extend the retractable pipe to its maximum length, and finally, secure it at the bottom.
How to Maintain a Faucet
1. It is essential to keep the faucet clean at all times during use. After using the faucet, rinse it with clean water to wash away any dirt inside. If any grease gets on the faucet, use a cloth to clean it up. When turning the faucet on or off, avoid using too much force.
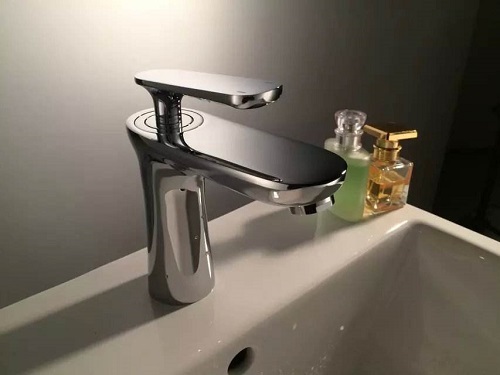
2. During regular cleaning, do not only focus on the surface of the faucet; the interior also needs to be cleaned. If water flow becomes obstructed or splits when in use, it may indicate that the faucet’s insides are blocked. In this case, it is necessary to disassemble and clean it to ensure proper future use.
3. When cleaning the faucet, avoid using steel wool, as it can easily scratch the surface and affect both its appearance and functionality. Instead, using a cleaning cloth will not only avoid damage to the faucet but also help remove stubborn dirt effectively.
In summary, this concludes the introduction to the installation steps for a retractable faucet. You can install it according to the steps outlined above, while paying particular attention to details during the installation process to prevent issues in the future. If you want to learn more related information, you can follow us at Hawkrown.com for inquiries.
