


Home / Blog Center / Chargers / How to Install a Wall-Hung Toilet: A Comprehensive Guide
How to Install a Wall-Hung Toilet: A Comprehensive Guide
23/01/2025 | Hawkrown
Some homeowners want to install wall-mounted toilets in their bathrooms. The installation steps for wall-mounted toilets can be divided into the following four steps. Here’s a brief introduction.
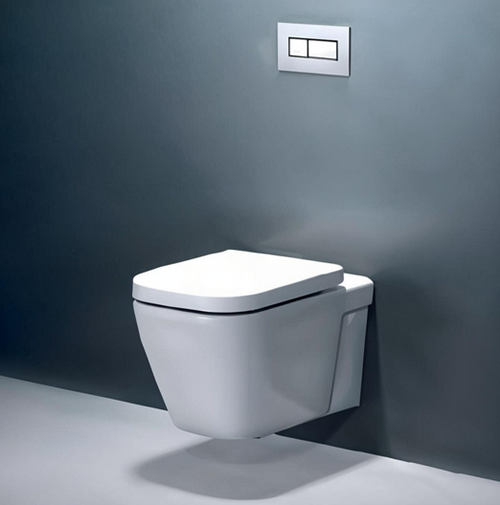
DIY Wall-Hung Toilet Installation: Tips and Instructions:
1、Preparation
Before installing a wall-mounted toilet, we need to prepare the wall-mounted toilet and related tools such as a tape measure, marker, screwdriver, wrench, electric drill, etc.
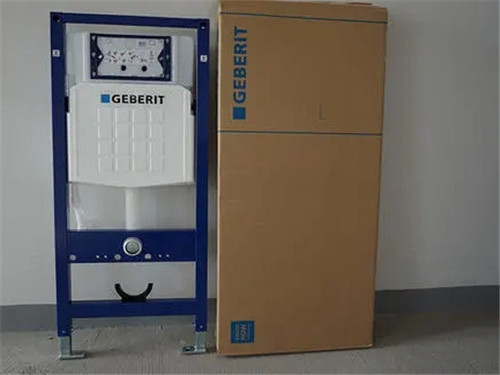
2、Install the Concealed Cistern
When installing, we place the concealed cistern in the pre-determined installation position and compare the floor drainage height with the cistern drainage pipe height. After marking the cutting position on the drainage pipe, we use a cutting machine to cut it. We then fit a sealing ring on the cistern drainage pipe and insert the cistern’s drainage pipe into the toilet drainage pipe.
The center of the toilet cistern support has two installation holes. We insert two toilet steel bars into the installation holes and install inlet and outlet pipe fittings at the inlet and outlet positions of the cistern.
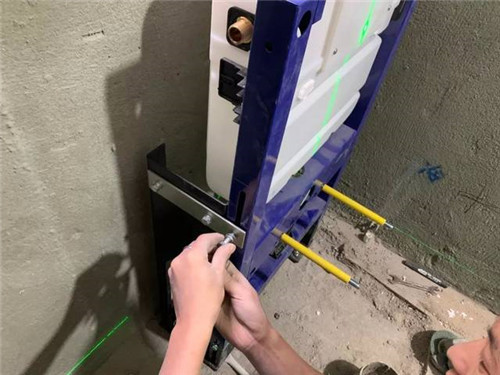
Next, we use the screws on the cistern support to level the cistern and adjust the height.
We then determine the installation position of the cistern's fixing components, drill holes in the wall and floor, and hammer expansion plugs into the holes.
After that, we use expansion screws to securely fix the cistern's legs and fixing components to the wall and floor, and then connect the cistern and fixing components with connecting rods and nuts.
Finally, we open the cover panel on the top of the cistern, install the water inlet angle valve on the cistern, connect the ends of the inlet hose to the toilet’s water diverter and the cistern’s water inlet, and install the control bottom box of the cistern.
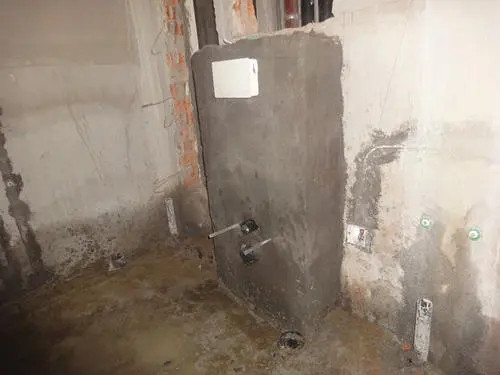
3、Install the False Wall
First, based on the design requirements, we cut the steel stud framework and use expansion screws to install the false wall's framework. Next, we trim the gypsum board. For example, we can place the positioning diagram of the toilet on the gypsum board, mark the drilling positions, and cut them using an electric drill or cutting knife. The next step is to mount the gypsum board on the framework, drill holes at the corresponding positions with the electric drill, and secure the gypsum board to the framework with screws. Finally, we apply tile adhesive to the false wall to install tiles. Lightweight bricks can also be used for the false wall.
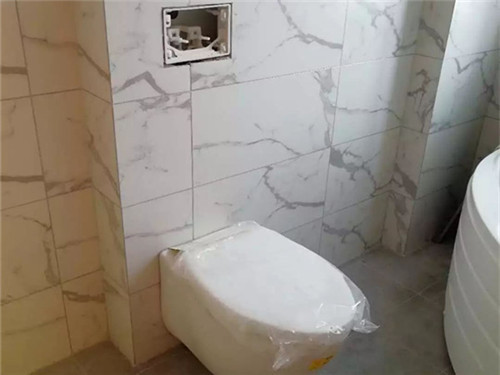
4、Install the Toilet
We remove the fittings from the cistern’s inlet and outlet, and prepare the dedicated inlet and drainage fittings for the wall-mounted toilet. First, we place a sealing rubber pad on one end of the inlet pipe and apply sealing glue to the end with the pad before inserting it into the toilet’s inlet. The larger end of the toilet's drainage pipe should also have sealing glue applied and then be inserted into the toilet drainage outlet. Additionally, sealing glue must be applied to both the inlet and outlet of the wall cistern. We then attach soundproof paper at the installation site of the toilet, align the toilet with the wall’s steel framework, and secure it using nuts. Next, we install the control panel of the toilet cistern as required. Finally, we install the screws fixing the toilet lid, align the screws of the lid with the screw holes, and tighten the nuts.
In summary:this is a simple introduction to the installation steps for wall-mounted toilets. I hope this article helps you in the future when installing wall-mounted toilets. The installation process for wall-mounted toilets is quite complex, so it is advisable to hire professionals for installation. For more related information, please continue to follow Hawkrown.com.
