


Home / Blog Center / Chargers / How to Repair a Broken Integrated Ceiling Heater Light?
How to Repair a Broken Integrated Ceiling Heater Light?
23/01/2025 | Hawkrown
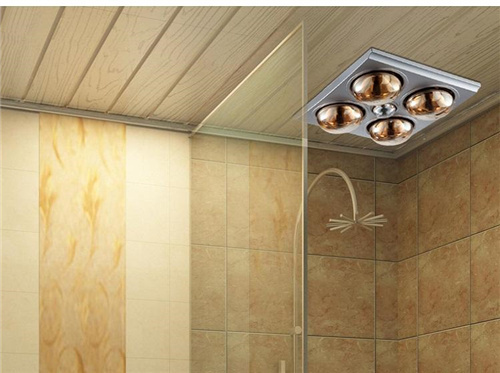
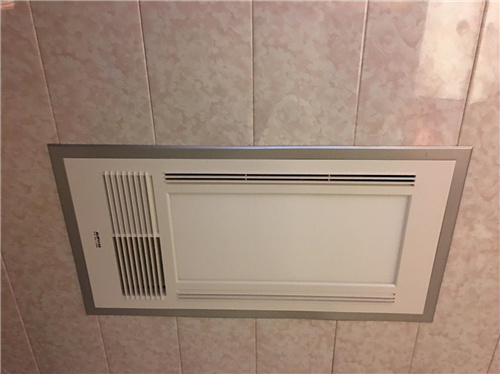
The integrated bathroom heater, commonly known as a "shower heater" in daily life, may sometimes experience issues like a burned-out bulb. Here’s how to fix a broken integrated bathroom heater light.
How to repair a broken integrated bathroom heater light
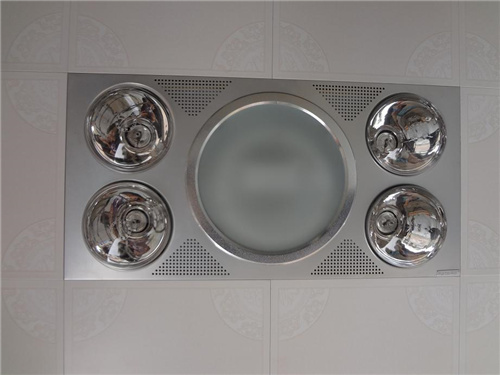
First, turn off the power and keep your hands dry. Then, use a small metal piece or another tool to lift a part of the integrated panel from the gap. Next, remove the two heating bulbs from both sides, and detach the two hanging springs at the edge of the heating bulb. This will allow you to take off the plastic cover of the heater, and finally, replace the faulty bulb with a new one.
What are the precautions for installing an integrated bathroom heater?
1. Since the bathroom is exposed to moisture for prolonged periods, it is crucial to ensure that the electrical wiring used is of excellent waterproof quality. Since the heater is a high-power appliance, the wires purchased should be dedicated for high-capacity devices, with multi-strand copper core wires being the best option.
2. Typically, the switch for the bathroom heater comes with a waterproof panel, so it's advisable to choose reputable brands, and the switch capacity must be greater than 10 amps. Additionally, the ground wire should be concealed within the wall.
3. When setting up the heater, be sure to include a PVC ceiling. This allows half of the heater to be installed within the ceiling; if the heater is too thick, it will appear unappealing once installed.
4. Many homeowners believe that the heater should be installed directly above the shower for optimal effect. However, this is not entirely accurate. Since the heater heats up quickly and the shower water is also hot, improper room layouts might lead to harm; therefore, it is best to install it in the center of the bathroom.

In summary:the above are the methods for repairing a broken integrated bathroom heater light. From the article, we can see that it is essential to be cautious during repairs. Always disconnect the power first to ensure safety and prevent electric shock. Additionally, all surrounding components must be removed to easily replace the bulb, saving a significant amount of labor and resources. I hope this information helps everyone.
