


Home / Blog Center / Chargers / Replacing a Toilet Flush Valve: Tips and Tricks
Replacing a Toilet Flush Valve: Tips and Tricks
17/01/2025 | Hawkrown
Replacing the toilet flush valve is necessary if it has problems to ensure proper usage in the future. Let’s take a look at how to replace the toilet flush valve.
How to Replace the Toilet Flush Valve:
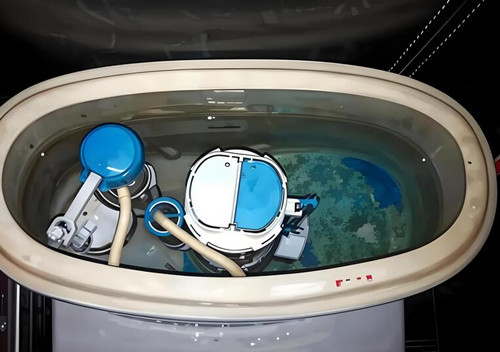
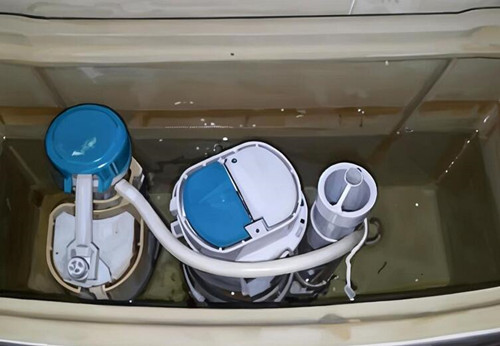
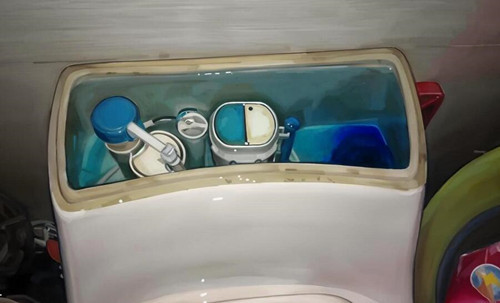
1、If the flush valve is damaged or leaking, you need to replace the old one. First, check the height of the inside wall of your tank, as well as the diameter of the drain and inlet. Purchase a replacement flush valve that matches these specifications.
2、Remove the upper half of the flush components and set it aside. Then, using a screwdriver, loosen the exposed screws on the bottom part. At the very bottom, there is usually a flat washer. Place this on the outside of the tank.
3、Next, position the bottom of the flush valve neatly, ensuring that the drain holes are concentric and aligned. Finally, adjust the washer to the appropriate angle and tighten the screws.
Common Problems with Flush Valves and Solutions:
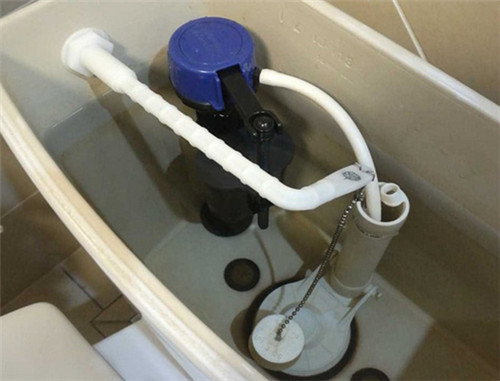
1、If the inlet valve is filling water slowly, it may be clogged. Simply remove the valve cover and lever from the top of the toilet, clean it thoroughly, and then reinstall it for normal operation.
2、If the inlet valve is not filling at all, there may be large debris inside the float. Clean the float and check other parts inside the inlet valve for blockages. Remove any obstructions found.
3、If the flush valve is leaking, the internal sealing flap may be stuck due to dirt or debris. It is necessary to remove the sealing flap for cleaning and check for any new obstructions for timely resolution.
In summary:we covered how to replace the toilet flush valve and common issues along with solutions. Have you understood it well? Pay special attention to the details of the flush valve to avoid damage, as this can affect its normal use and prevent unnecessary troubles in the future.
