


Home / Blog Center / Chargers / Quick Tips for Removing Expansion Screws from Toilet Covers
Quick Tips for Removing Expansion Screws from Toilet Covers
14/01/2025 | Hawkrown
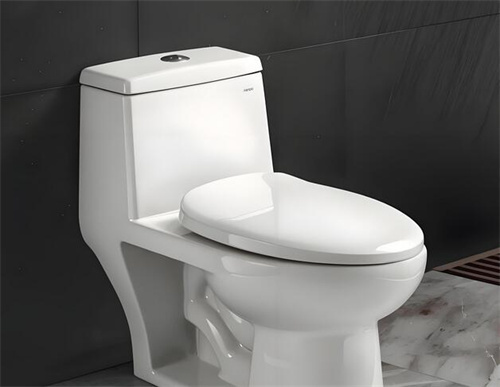
Toilet lids are typically secured to the toilet with expansion screws. When removing the toilet lid, we need to take out these expansion screws. Below is a simple guide on how to remove the expansion screws of a toilet lid.
Easy Steps to Take off Toilet Lid Expansion Screws:
1、For Bottom-Mounted Toilet Lids
Locate the fixing nut of the toilet lid at the back of the toilet and unscrew it to remove it. Then, lift the toilet lid upwards to take it out. You will see that the expansion screw is fixed in the slot of the toilet lid. We can tap the screw to loosen it and then take it out.
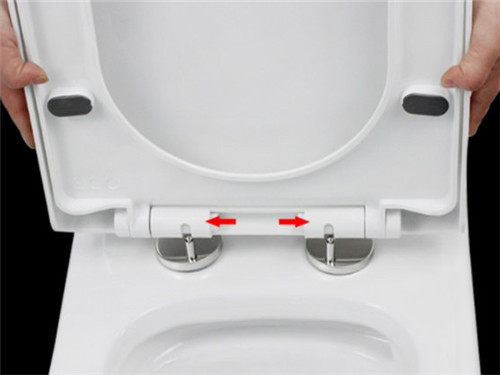
2、For Top-Mounted Toilet Lids
Lift the toilet lid, and you will see two buttons at the bottom of the lid. Press the buttons and lift the lid upwards to remove it. Next, remove the decorative cap of the fixing screw, use a screwdriver to loosen the expansion screw, and take out the fixing components. Finally, use pliers or other tools to remove the expansion tube.
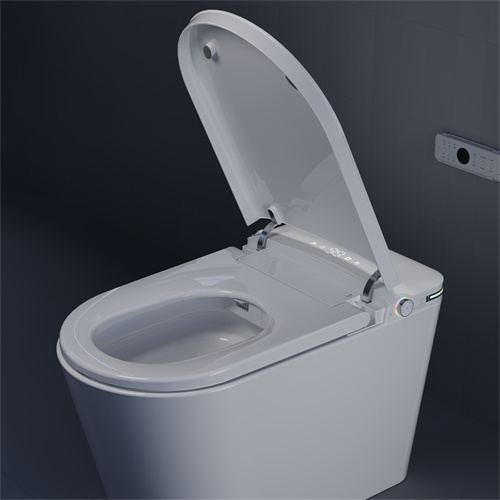
3、For Smart Toilet Lids
First, toggle the control on the smart toilet lid or press the unlock button. Then, slide the lid from the back to release it. Next, use a screwdriver to loosen the expansion screw on the fixing component and take out the expansion screw along with the expansion tube.
How to Choose a Toilet Lid:
When choosing a toilet lid, it’s essential to understand the shape of your toilet. For example, use a U-shaped lid for a U-shaped toilet and a V-shaped lid for a V-shaped toilet. Before purchasing, measure the length and width of your toilet to select the appropriate lid size. Also, check the quality of the toilet lid, looking for any unevenness on the surface.
In summary:this is a simple introduction to removing the expansion screws of a toilet lid. I hope this article serves as a helpful reference when you need to disassemble the toilet lid in the future. For more related information, please continue to follow our website.
