


Home / Blog Center / Chargers / How to Install an Electric Hot Water Faucet: A Step-by-Step Guide for Homeowners
How to Install an Electric Hot Water Faucet: A Step-by-Step Guide for Homeowners
15/01/2025 | Hawkrown
Some homeowners want to replace their existing faucets with electric water faucets. The installation process for electric water faucets can be simply divided into three steps. Below, I will introduce the specific steps for you.
1. Preparation
You should choose a suitable electric water faucet based on the installation environment. For example, if the faucet is to be installed on a sink, you can choose a down-spout style electric water faucet. You should also prepare the necessary installation tools in advance, such as plumbing tape, wrenches, etc. Additionally, it’s best to check if the circuit breaker and the specifications of the wiring meet the requirements. For instance, a 3-kilowatt electric water faucet should use a 2.5 square mm wire, and a 16A circuit breaker can be used. If the specifications of the wire or circuit breaker are inadequate, you may need to ask an electrician to replace them with appropriate specifications.
2. Remove the existing faucet
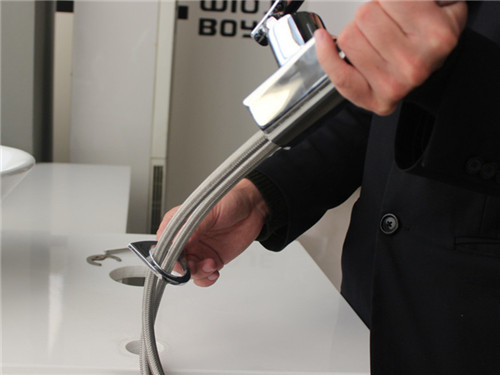
Turn the water valve to the right to close it. Next, loosen the nuts where the water valve and the metal hose are connected. Then, loosen the mounting nut of the faucet under the sink. After removing the nut and sealing ring, pull the old faucet out from the countertop. Once the old faucet is removed, wipe the countertop clean with a cloth.
3. Assemble the electric water faucet
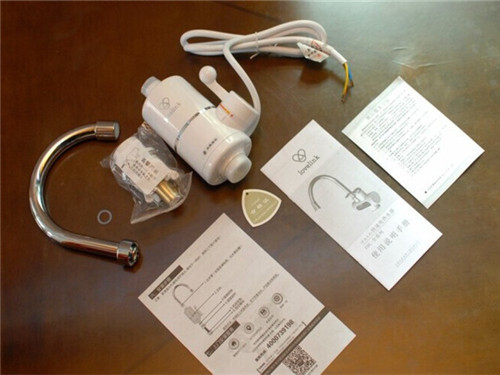
First, check that all the components of the electric water faucet are complete and refer to the manual to understand its assembly method. Then, loosen the screws on the underside of the plug and remove the rear cover. Connect the live, neutral, and ground wires of the electric water faucet to the corresponding terminals on the plug, and then secure the rear cover with screws. Next, screw the spout into the heating unit, place the sealing ring onto the copper pipe of the faucet underneath, then insert it into the mounting hole on the countertop and tighten it with a mounting nut. After that, wrap plumbing tape around the copper pipe, and connect the two ends of the metal hose to the copper pipe of the faucet and the water valve interface.
4. Inspection
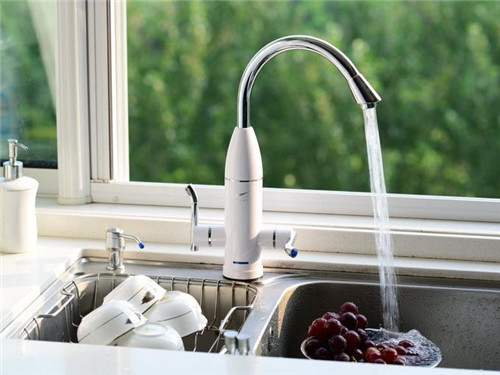
Once the electric water faucet is assembled, open the water valve and turn the faucet handle to check for leaks. If there are any leaks, you may need to disassemble and reinstall it. After that, plug the faucet leak protection plug into the socket to check if the faucet can heat water properly, etc.

In summary, this is a simple introduction on how to install an electric water faucet. I hope this article provides reference and assistance for you in the future installation of electric water faucets. For more related information, you can continue to follow Hawkrown.com.
