


Home / Blog Center / Chargers / Step-by-Step Guide: Wiring an Integrated Ceiling Heater
Step-by-Step Guide: Wiring an Integrated Ceiling Heater
10/01/2025 | Hawkrown
When installing a purchased bathroom heater, proper wiring is one of the most crucial parts. Here’s how to wire a ceiling-mounted heater in the context of integrated ceiling systems.
How to Wire an Integrated Ceiling Heater
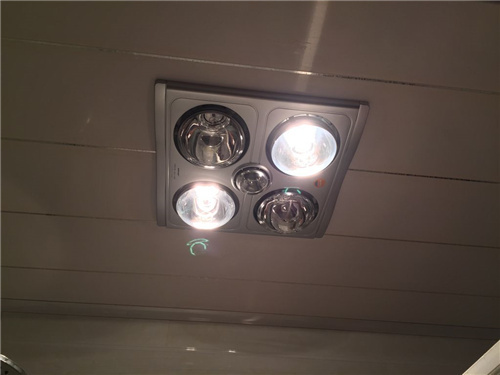
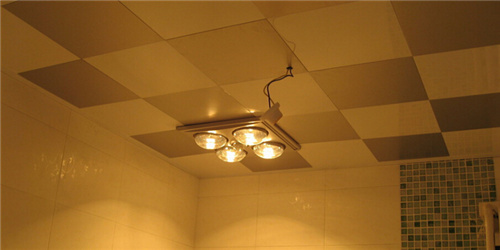
During the construction and electrical renovation of the bathroom, it is necessary to open a groove in the ceiling to reserve a location for installing the heater. Wires should be routed within the groove. After that, the product can be installed. The power supply for the heater is relatively straightforward, as it typically includes functions for heating, air blowing, and lighting.

When wiring, you need to distinguish between the live wire, neutral wire, and ground wire, which can be identified using a voltage tester. After identifying the live and neutral wires, find their respective connection points. Different markings indicate these: "N" represents the neutral wire, which is usually pre-connected by the manufacturer; you simply need to connect the neutral wire.
The live wire should be connected to the control panel, and other connections should follow the color coding of the heater's wires to ensure proper connection. For example, the third wire is used for the air blowing function, the fourth wire is for ventilation, and there’s another wire for lighting. The ground wire can be combined with the capacitor, allowing two yellow wire inner insulation layers to be connected.
What Size Wire to Use for the Heater
1. When installing a heater in the bathroom, it’s important to choose the correct size of the wire. Generally, a 4 square millimeter wire is sufficient, as heaters typically operate within a range of 2000 to 3000 watts, making a 4 mm2 wire the safest option.
2. Additionally, it’s necessary to reserve the correct number of wires because the specifications and models of various products differ, which affects the number of wires needed. Generally, for standard products, you should reserve five wires, including a neutral wire. This typically includes two wires for heating, one for ventilation, and one for lighting.
In summary:the above information outlines how to wire an integrated ceiling heater. It is essential to distinguish between different wire specifications and reserve the correct number of wires. Once the groove is established in the ceiling, you can proceed with the wiring.
