


Home / Blog Center / Chargers / How to Wire an Integrated Ceiling Bathroom Heater: A Step-by-Step Guide
How to Wire an Integrated Ceiling Bathroom Heater: A Step-by-Step Guide
10/01/2025 | Hawkrown
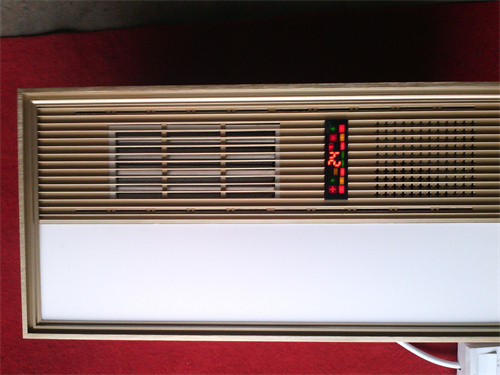
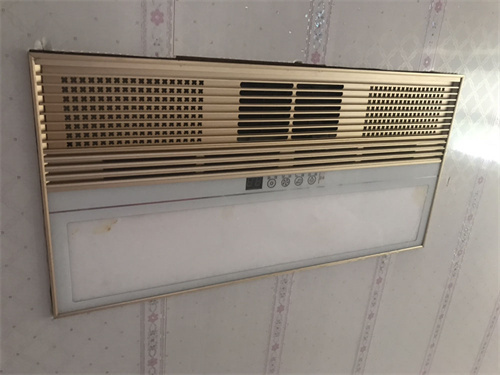
Nowadays, most people's bathrooms are equipped with integrated ceiling bath heaters, which are very convenient to use and have an appearance that blends seamlessly with the integrated ceiling. So, how do you wire an integrated ceiling bath heater? Let's take a look.
How to Wire an Integrated Ceiling Bath Heater
First, locate the reserved wiring for the bath heater. Connect one functional wire to each corresponding power line, using a neutral wire for power supply to form a complete circuit. Then, connect the wires of the same color together on the heater. Next, connect the live wire to the feed wire on the switch and parallel it with other switches. Finally, conduct a power-on test.
How to Install an Integrated Ceiling Bath Heater
1. Installation of Corner Trim
First, determine the installation height and draw a horizontal line. After tiling is complete, the edge of the integrated ceiling must be firmly fixed to the tiles when it is at level, with no significant gaps.
2. Installation of Main Framework
The distance between the hangers and the light steel keel should match the panel size. Create an expansion ring at the top and secure all the hangers. Connect the ends of the hangers to the hooks, then place the main framework in the center of the hooks and secure it. Adjust the height using the nut so that the bottom surface of the main keel is 3 cm from the top surface of the edge trim, and then tighten it.
3. Installation of Sub Keel
Cut the required length of the sub keel five millimeters shorter than the actual installation length, attach a triangular hanging wire, and temporarily hang all the sub keels on the main keel according to the required drawing.
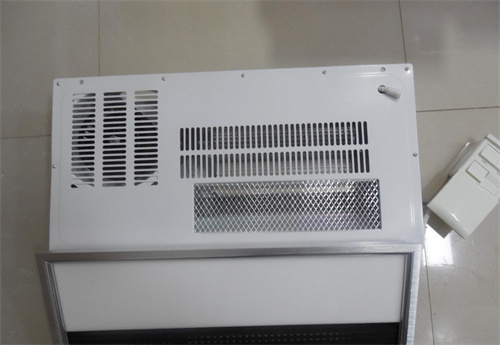
4. Installation of the Main Unit
When reaching the installation location of the heating main unit as per the design layout, replace the template with the main unit panel to confirm the correct installation position. Then, place the main unit casing on top of the keel and secure it. When installing (embedded) electrical appliances, ensure that the panel and appliance interfaces are flush and seamless.
5. Wiring at the Top and Panel Terminal
For the wiring at the top, determine the positions where the lights and kitchen and bathroom appliances will be installed and plan the wiring in advance. It is essential to pay special attention to this step, as it directly affects the overall appearance of the ceiling.

In summary:this article provides information on how to wire an integrated ceiling bath heater. We hope this is helpful to everyone. For more content, please continue to follow our website.
