


Home / Blog Center / Chargers / Step-by-Step Guide: Changing the Lamp Tube of Your Ceiling-Mounted Bathroom Heat
Step-by-Step Guide: Changing the Lamp Tube of Your Ceiling-Mounted Bathroom Heat
08/01/2025 | Hawkrown
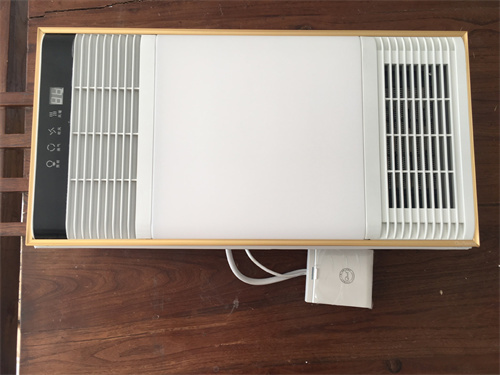
The bathroom heater, commonly known as a bath heater or "yuba," is an essential household appliance for daily life. However, over time, the bulbs may get damaged and need replacement. Here’s how to change the bulbs in an integrated ceiling-mounted bath heater, along with some important usage tips!
How to Change the Bulbs in an Integrated Ceiling-Mounted Bath Heater
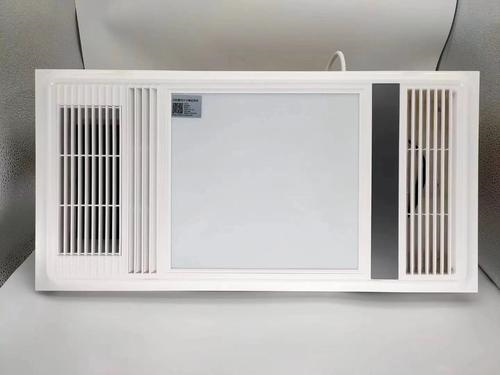
1. First, use a flathead screwdriver to gently pry open the cover plate along the seam. Once the cover plate is removed, you will be able to see the internal lighting and heating bulbs.
2. Next, press the heating and lighting bulbs into their slots; they will pop out, allowing you to remove the corresponding metal clips.
3. Finally, insert the new heating or lighting bulb into the slot and fasten the clips securely.
The steps for changing the bulbs are relatively simple, but make sure to turn off the power before you start. Additionally, buy the appropriate type of bulbs, and it’s best to take the old bulb along for reference. You should also prepare the necessary tools, such as a flathead screwdriver and a ladder, to facilitate the replacement.

Things to Keep in Mind When Using a Bath Heater
1. When using a bath heater, choose professional-grade power wiring, as bath heaters are high-power appliances with a wattage of 1100 watts or more. Use waterproof power wiring with a wire core of at least 1 mm, and all wiring should be installed within the wall to avoid open wiring. Furthermore, the power switch for the bath heater should also be waterproof.
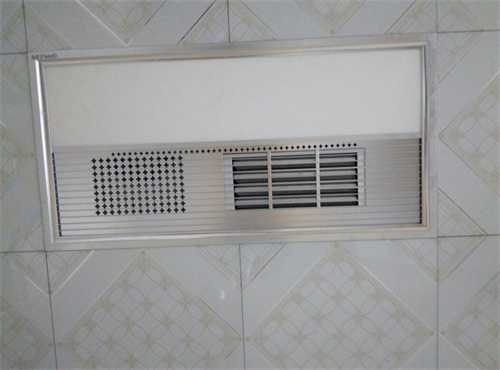
2. Ideally, the bath heater should be installed in the center of the bathroom. Avoid placing it directly above the bathtub or shower area to prevent safety hazards, even though it heats up quickly. Since the infrared radiation from the heating lamps can result in rapid temperature increases, being too close may cause burns. It’s safest to place the bath heater in the center of the bathroom or near the tub, ensuring optimal performance while maintaining safety.
3. Do not let water splash onto the bath heater during use, as this could lead to a short circuit. Additionally, avoid frequently turning the heater on and off to prevent reducing the lifespan of the internal heating and lighting bulbs.
In summary:this guide provides an overview of how to replace bulbs in an integrated ceiling-mounted bath heater and important usage considerations. We hope this information is helpful to those in need. If you would like to learn more related knowledge in the future, feel free to follow our website.
