


Home / Blog Center / Chargers / Step-by-Step Guide to Fixing a Leaky Kitchen Faucet Rotation
Step-by-Step Guide to Fixing a Leaky Kitchen Faucet Rotation
08/01/2025 | Hawkrown
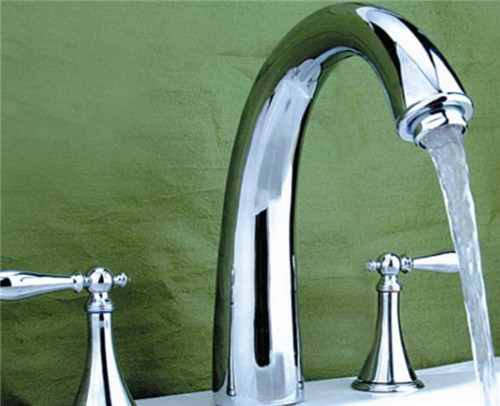
The kitchen faucet is a frequently used product, and when it starts to leak at the rotating part, it needs to be replaced. Below, I will introduce how to replace a leaking kitchen faucet at the rotating joint.
How to Replace a Leaking Kitchen Faucet at the Rotating Joint
1. First, choose the appropriate size of pliers and tweezers based on the thickness of the faucet.

2. Then, use the pliers to slowly open the cap on top of the faucet. After that, use the tweezers to reach inside the faucet and remove the central washer.
3. Next, take a new washer and place it inside. Finally, tighten the cap back on the faucet.
How to Buy a Quality Faucet
1. Check the Faucet Core
The core of the faucet is one of the most important components, much like the heart in a human being. Therefore, the quality of the core determines the lifespan of the faucet. When choosing, it’s essential to select a faucet with a high-quality core to ensure a longer service life.
2. Check the Faucet Craftsmanship
The manufacturing process of the faucet is also crucial. A well-made faucet will have a smooth, shiny zinc coating, and the paint should not display any color discrepancies or defects such as black spots or missed coatings. When purchasing, inspect the surface of the faucet to ensure there are no flaws.
3. Check for Heavy Metals
Since many faucets are used to control drinking water, exceeding limits on heavy metals is unacceptable, as it can affect the user's health. To ensure safety, request a certificate of conformity from the seller when buying, and the faucet should also provide a test report.

In summary, the above content explains how to replace a leaking kitchen faucet at the rotating joint. By following these steps, you can complete the replacement correctly. It's important to use the right model to avoid installation issues and prevent future problems during use.
