Home / Blog Center / Chargers / How to Wire a Five-in-One Warm Bath Heater: A Step-by-Step Guide
How to Wire a Five-in-One Warm Bath Heater: A Step-by-Step Guide
06/01/2025 | Hawkrown
To ensure comfort while bathing, many households install a five-in-one warm air bath heater on the bathroom ceiling. Let's learn how to connect the wiring for the five-in-one warm air bath heater.
How to Connect the Wiring for the Five-in-One Warm Air Bath Heater
1. Connect one end of the flexible wire to the switch panel.
2. The other end of the flexible wire should be pulled out simultaneously with the power supply line from the ceiling hole.
3. Open the wiring cover of the warm air bath heater.
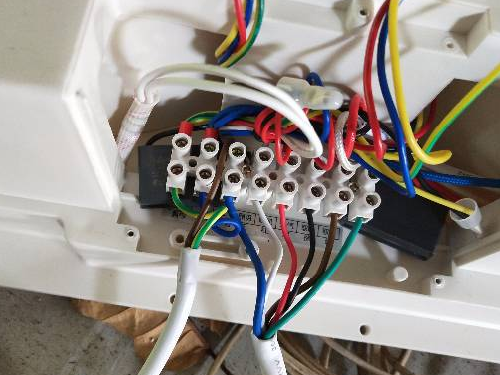
4. According to the wiring diagram in the product instruction manual and the labels around the wiring terminals, connect the various wires properly.
5. Cover the wiring terminals and secure the cover firmly with screws.
6. Tuck any excess wire into the ceiling cavity to ensure that the body of the warm air bath heater can fit into the opening successfully.
Important Considerations When Installing the Five-in-One Warm Air Bath Heater
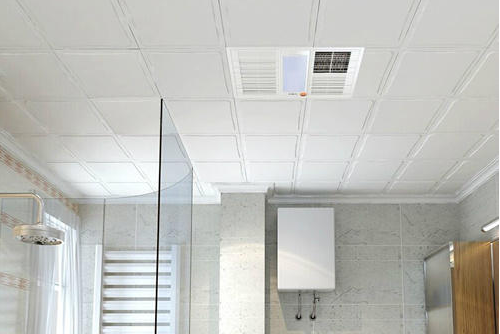
1. Generally, the five-in-one warm air bath heater should be installed about twenty centimeters away from the showerhead, rather than directly above it. The specific installation position should be arranged according to the bathroom's size and structure.
2. If the user installs the five-in-one warm air bath heater directly above the showerhead, the hot air and light generated will constantly blow down on the showerhead and shower column, potentially damaging them or decreasing their lifespan over time.
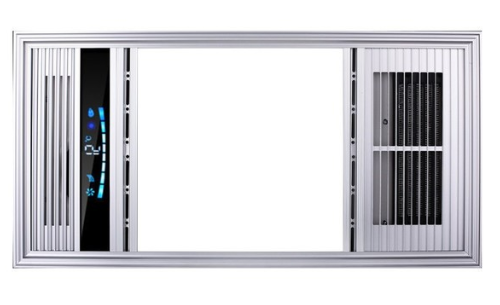
3. Additionally, it is not recommended to install the five-in-one warm air bath heater in the shower area. For households that have separated wet and dry areas in the bathroom, installing the heater in the shower area means that the entire bathroom will not benefit from the warm air and heat. Only the shower area will be heated, leaving the dry area unaffected.
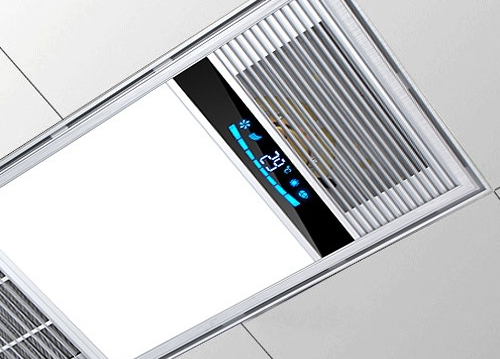
In summary:the above is a detailed introduction about how to connect the wiring for the five-in-one warm air bath heater and important considerations during its installation. We hope this information is helpful to those in need. If you would like to learn more related knowledge, please continue to follow our website, as we will provide more exciting content in the future.

