Home / Blog Center / Chargers / Step-by-Step Guide to Installing a Showerhead: Easy DIY Tips
Step-by-Step Guide to Installing a Showerhead: Easy DIY Tips
20/12/2024 | Hawkrown
Enjoying a shower after work is a truly comfortable experience. Let's take a look at how to install a showerhead.
How to Install a Showerhead
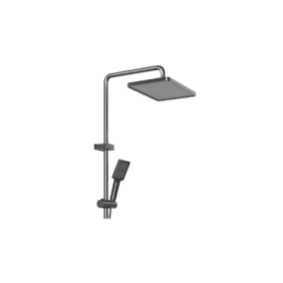
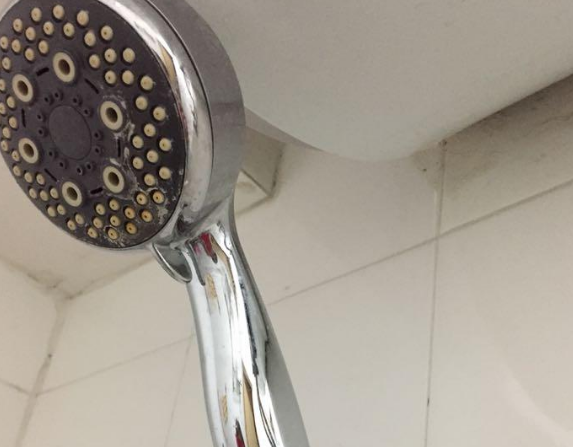
First, determine the installation location. Drill a hole in the wall and use screws to secure the showerhead. Next, connect the plastic hose to the shower unit and assemble the sealing washer inside the plastic hose. Turn the plastic hose clockwise to connect it to the showerhead. Once the installation is complete, turn on the faucet to check if the showerhead is functioning properly.
Installation Considerations for Showerheads
1. Correct Installation Direction
Most households have hot water coming from the left side of the faucet and cold water from the right side, with corresponding labels attached. Therefore, when installing the showerhead, make sure not to install them in reverse. People are accustomed to this arrangement—hot on the left and cold on the right. If installed incorrectly, it could lead to scalding or render the showerhead unusable.
2. Pay Attention to Installation Height
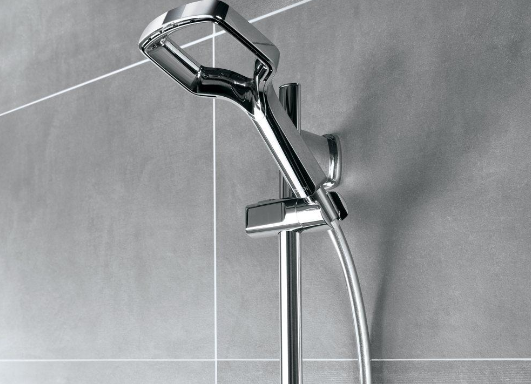
There are no strict regulations on where to install the showerhead; it should be determined based on the height of the users in the household. Before deciding on the height, consider who will primarily use it. If it’s for the master bathroom, it can be installed higher for adult use. If it’s for a guest bathroom frequently used by children or elderly individuals, it might be better to install it lower for easier access.
3. Consider the Installation Location
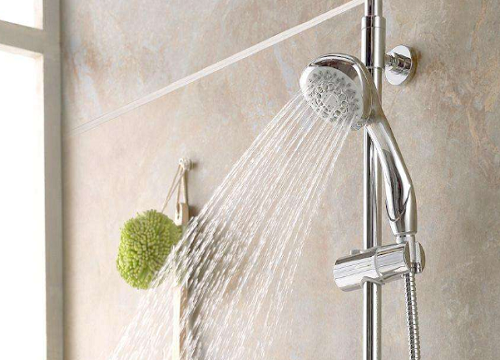
Since the showerhead is only used during bathing, privacy should also be taken into account. Avoid installing the showerhead near windows or doors to prevent exposure.
In summary:the above is a guide on how to install a showerhead and what considerations to keep in mind during installation. I hope this information helps you in your installation process.

