Home / Blog Center / Chargers / The Ultimate Guide to Shower Diverter Valve Replacement
The Ultimate Guide to Shower Diverter Valve Replacement
16/12/2024 | Hawkrown
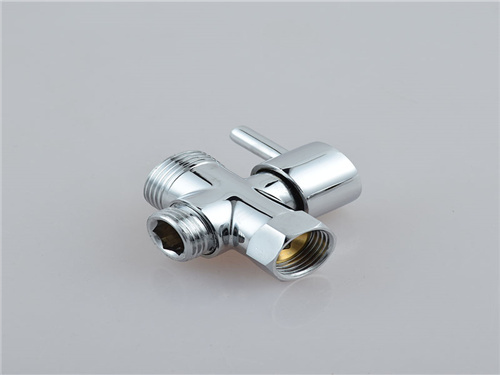
The shower diverter valve is an important component of the showerhead. When it is damaged, it needs to be replaced promptly. Let's take a look at how to replace the shower diverter valve.
How to Replace the Shower Diverter Valve
1. Remove the Handle
Before disassembling, first remove the handle on top. Unscrew the set screw on the handle; you can use a Phillips screwdriver to align with the small hole at the bottom of the handle and unscrew the screw inside. Then, pull the handle outward with force to separate it from the valve core’s rocker arm. During this process, note that the handle is usually made of cast brass, which is relatively soft and has poor corrosion resistance. Additionally, the sleeve inside the square hole is prone to damage. Therefore, do not apply too much force when removing the handle, as it may crack.
2. Remove the Compression Nut on the Valve Core
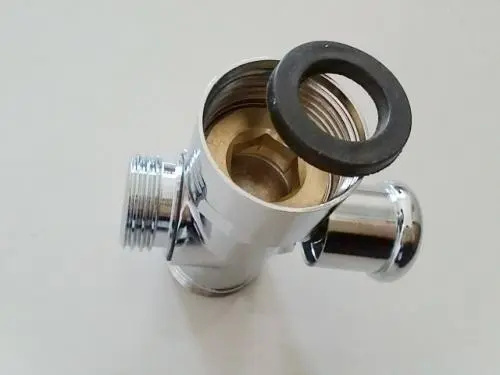
Next, you need to remove the compression nut on top of the valve core. Pay attention to whether the nut is a ring-shaped component. While unscrewing, be cautious about applying force; if it’s difficult to turn, you can gently tap the nut with a tool to loosen it, making the removal easier.
3. Remove the Diverter Core
Once the nut is removed, you can take out the valve core inside. Simply use a tool to extract the valve core, and be careful to avoid damaging the diverter.

4. Inspect the Bottom Surface of the Installation Cavity
Before replacing, you must check the bottom surface of the valve core installation cavity to avoid affecting the installation of the valve core. Carefully examine the three assembly holes on the cavity bottom. If the bottom of the valve core has become rough due to long-term use, ensure a smooth surface by cleaning and polishing the cavity bottom.
5. Replace with a New Valve Core
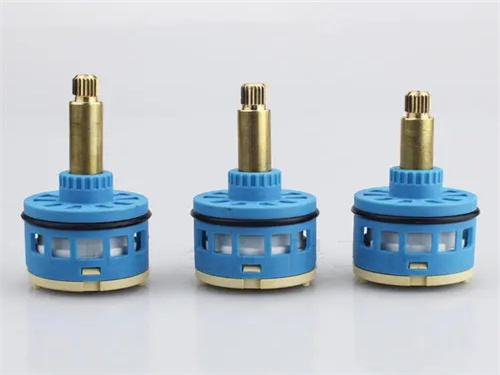
Finally, you can replace it with a new valve core. Purchase a valve core of the same model and insert the new valve core into the valve body cavity, aligning it with the two positioning holes at the bottom. After confirming that it is correctly positioned, tighten the compression nut and then reattach the handle. When installing the handle, it may be tight; if the handle does not fit, use lubricant to ease the installation.
Summary:The above content provides information on how to replace the shower diverter valve. It is a relatively simple process, and you may refer to the instructions above.

